
Django is a high-level Python Web framework that encourages rapid development and clean, pragmatic design. Built by experienced developers, it takes care of much of the hassle of Web development, so you can focus on writing your app without needing to reinvent the wheel. It’s free and open source.
Install Centminmod
https://linuxglobe.com/2020/03/25/installing-centminmod-on-centos-7/Install python3-devel
yum install python3-devel -yLets Install virtualenv and virtualenvwrapper
pip3 install virtualenv virtualenvwrapperLets add python3 path in virtualenvwrapper.sh
vi /usr/local/bin/virtualenvwrapper.shFind
VIRTUALENVWRAPPER_PYTHON="$(command \which python)Replace
VIRTUALENVWRAPPER_PYTHON="$(command \which python3)Lets setup environment variables in .bashrc file
echo "export WORKON_HOME=/home/nginx/domains/python" >> ~/.bashrc
echo "source /usr/local/bin/virtualenvwrapper.sh" >> ~/.bashrc
Lets source our shell initialization script so that we can use this functionality in our present session
source ~/.bashrc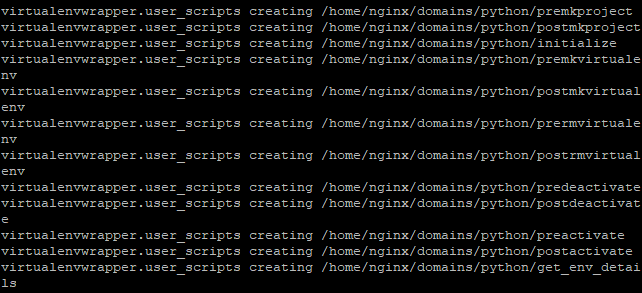
Lets create our first virtual host using centmin.sh and choosing option 2. In my case I am creating for domain name site.bullten.work. Once vhost is setup now its time to create our first project. I am creating project name “site_bullten_work”
mkvirtualenv site_bullten_work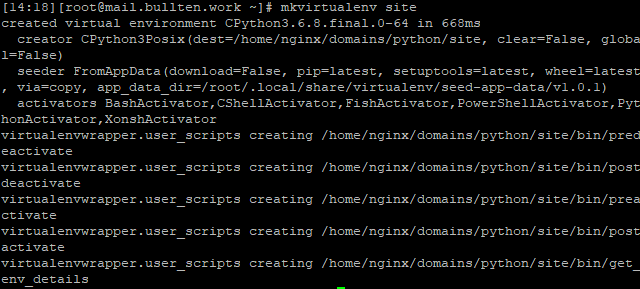
Now lets install django under virtual environment of project site_bullten_work
pip3 install djangoLets create our first django project named “site_bullten_work”. You can change project name to your domain name you created. Navigate under the domain name path you setup using centmin.sh option 2. In my case its /home/nginx/domains/site.bullten.work/public
First make executable permission of django-admin.py
chmod +x /home/nginx/domains/python/site_bullten_work/bin/django-admin.pyCreate new project
cd /home/nginx/domains/site.bullten.work/public
django-admin.py startproject site_bullten_work
chown -R nginx:nginx site_bullten_work
You will see a new project directory named site_bullten_work is created and it has all necessary files. Now Lets begin the database migration. By default SQLite is setup but we will be using MariaDB instead. Open your setting and change from SQLite to MariaDB.
First create your database to use with django project.
cmdir
cd addons
./mysqladmin_shell.sh setuserdb
Once database creation is done follow below steps. In my case I have created site_db as db name and db user and site@123 as password. You should change with your own db name and password.
vi site_bullten_work/site_bullten_work/settings.pyFind
DATABASES = {
     'default': {
         'ENGINE': 'django.db.backends.sqlite3',
         'NAME': os.path.join(BASE_DIR, 'db.sqlite3'),
     }
 }
Replace
DATABASES = {
    'default': {
        'ENGINE': 'django.db.backends.mysql',
        'NAME': 'site_db',
        'USER': 'site_db',
        'PASSWORD': 'site@123',
        'HOST': 'localhost',
        'PORT': '',
    }
}
save file and lets start database migration
cd site_bullten_work
chmod +x manage.py
pip3 install mysqlclient
./manage.py migrate
Now lets create administrative user
./manage.py createsuperuser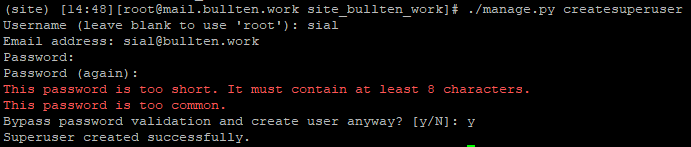
As we are setting up Nginx to serve our site, we need to configure a directory which will hold our site’s static assets
vi site_bullten_work/settings.pyAdd this line to the bottom of the file
STATIC_ROOT = os.path.join(BASE_DIR, "static/")Now lets collect all static elements in static folder
./manage.py collectstatic
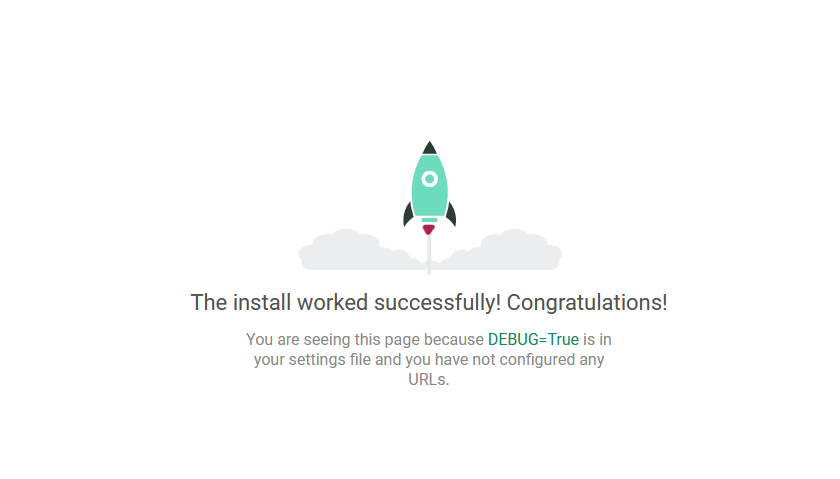
Its time to test if our project is working. Lets run our project server at port 8080 and see. If you are running CSF then you need to enable port 8080 in TCP_IN.
./manage.py runserver 0.0.0.0:8080Now open http://your-server-ip:8080 in your browser and check if your see below error then you need to add your server IP in allowed host in settings.py
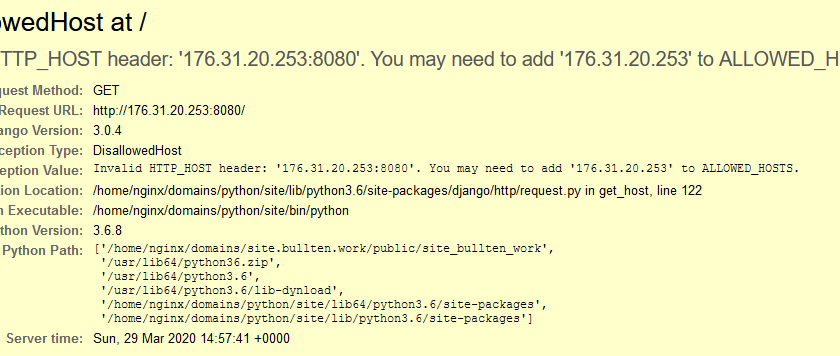
vi site_bullten_work/settings.pyFind
ALLOWED_HOSTS = []Replace
ALLOWED_HOSTS = ['your-server-ip'] Now run ./manage.py runserver 0.0.0.0:8080 again
You can also open admin using following
http://your-server-ip:8080/admin/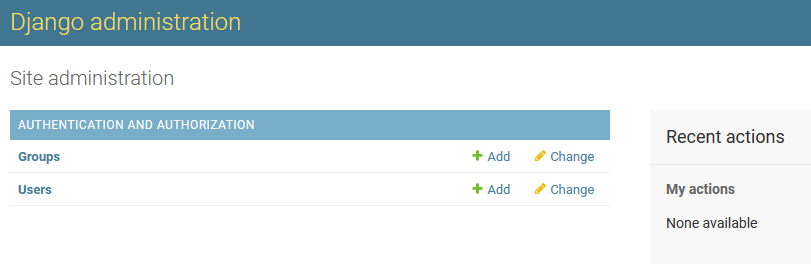
lets deactivate the environment and go back to our global environment shell
deactivateInstall uWSGI globally through pip3
pip3 install uwsgiCreate configuration file. We are using site_bullten_work.ini as we created project name as “site_bullten_work”. You should replace it with your own. Below you should change project = site_bullten_work with your project name under chdir = %(base)/site.bullten.work/public/%(project) we should change site.bullten.work with your domain name.
mkdir -p /home/nginx/domains/uwsgi
cd /home/nginx/domains/uwsgi
vi site_bullten_work.ini
[uwsgi]
uid = nginx
gid = nginx
project = site_bullten_work
base = /home/nginx/domains
chdir = %(base)/site.bullten.work/public/%(project)
home = %(base)/python/%(project)
module = %(project).wsgi:application
master = true
processes = 5
socket = /run/uwsgi/%(project).sock
chown-socket = nginx:nginx
chmod-socket = 660
vacuum = trueCreate a Systemd Unit File for uWSGI
vi /etc/systemd/system/uwsgi.service[Unit]
Description=uWSGI Emperor service
[Service]
ExecStartPre=/usr/bin/bash -c 'mkdir -p /run/uwsgi; chown nginx:nginx /run/uwsgi'
ExecStart=/usr/local/bin/uwsgi --emperor /home/nginx/domains/uwsgi
Restart=always
KillSignal=SIGQUIT
Type=notify
NotifyAccess=all
[Install]
WantedBy=multi-user.targetNow edit virtual host for your domain which you created above. You should replace site.bullten.work.ssl.conf with your domain configuration.
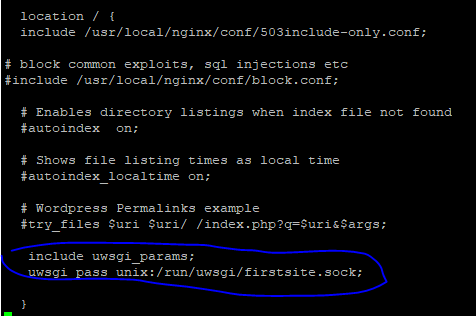
vi /usr/local/nginx/conf/conf.d/site.bullten.work.ssl.confIn root add project name your created. See in the image below

In location tab add as below. Change site_bullten_work.sock with your project name socket.
location / {
   include uwsgi_params;
   uwsgi_pass unix:/run/uwsgi/site_bullten_work.sock;
}
Verify nginx configuration
nginx -t
Start services
systemctl start uwsgi
systemctl enable uwsgi
nprestart
Lets open with the domain name we created. If we get below error then we need to add domain name in Allowed Host
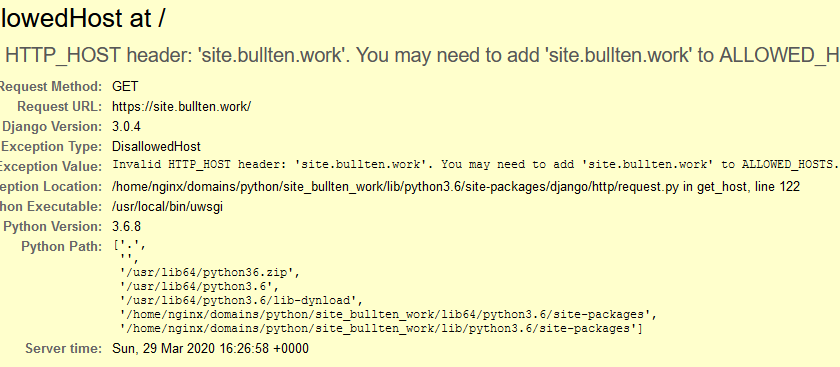
vi settings.pyReplace site.bullten.work with your domain name
ALLOWED_HOSTS = ['176.31.20.253', 'site.bullten.work']Restart uwsgi
systemctl restart uwsgiThis way we setup django application on CentMinMod installation 🙂