PostgreSQL is a powerful, open source object-relational database system with over 30 years of active development that has earned it a strong reputation for reliability, feature robustness, and performance.
pgAdmin is the most popular and feature rich Open Source administration and development platform for PostgreSQL, the most advanced Open Source database in the world.
Lets install PostgreSQL 11
vi /etc/centminmod/custom_config.incEnter
POSTGRESQL=y
LETSENCRYPT_DETECT='y'
Upgrade php using centmin.sh option 5
cmdir
./centmin.sh
This will install PostgreSQL 11
systemctl status postgresql-11psql --version
psql (PostgreSQL) 11.7Lets install pgAdmin4
pip3 install https://ftp.postgresql.org/pub/pgadmin/pgadmin4/v4.20/pip/pgadmin4-4.20-py2.py3-none-any.whlSetup config file with relative paths
vi /usr/local/lib/python3.6/site-packages/pgadmin4/config_local.pyAdd
DEFAULT_SERVER = '0.0.0.0'
DEFAULT_SERVER_PORT = 5050
LOG_FILE = '/var/log/pgadmin/pgadmin.log'
SQLITE_PATH = '/var/lib/pgadmin/pgadmin.db'
SESSION_DB_PATH = '/var/lib/pgadmin/sessions'
STORAGE_DIR = '/var/lib/pgadmin/storage'
SERVER_MODE = True
ALLOW_SAVE_PASSWORD = True
Execute setup.py to configure login for pgAdmin
python3 /usr/local/lib/python3.6/site-packages/pgadmin4/setup.pySet correct permission to the files
chown nginx:nginx /var/lib/pgadmin/pgadmin.db
chown -R nginx:nginx /var/log/pgadmin/
chown -R nginx:nginx /var/lib/pgadmin/
Create systemd service
vi /etc/systemd/system/pgadmin4.serviceAdd
[Unit]
Description=Pgadmin4 service

[Service]
User=nginx
Group=nginx
ExecStart=/usr/bin/python3 /usr/local/lib/python3.6/site-packages/pgadmin4/pgAdmin4.py
Restart=always
Type=simple

[Install]
WantedBy=multi-user.target
Start and enable Pgadmin4 services
systemctl start pgadmin4
systemctl enable pgadmin4
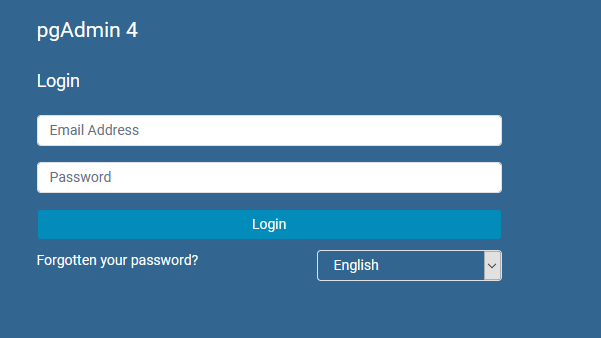
You can now access pgadmin4 interface at yourserverip:5050. Note you need to open port 5050 in your firewall if installed
Lets configure Nginx as reverse proxy for pgadmin4
First create domain name with centmin.sh using option 2
cmdir
./centmin.sh
Copy staticfiles.conf to staticfiles-pgadmin4.conf
cat /usr/local/nginx/conf/staticfiles.conf > /usr/local/nginx/conf/staticfiles-pgadmin4.confOpen staticfiles-pgadmin4.conf
vi /usr/local/nginx/conf/staticfiles-pgadmin4.confFind
location ~ /.well-known { location ~ /.well-known/acme-challenge/(.*) { more_set_headers "Content-Type: text/plain"; } }Delete everything after this line and save file
Open your vhost file for the domain name your created. In my example I created site.bullten.work
vi /usr/local/nginx/conf/conf.d/site.bullten.work.ssl.confFind
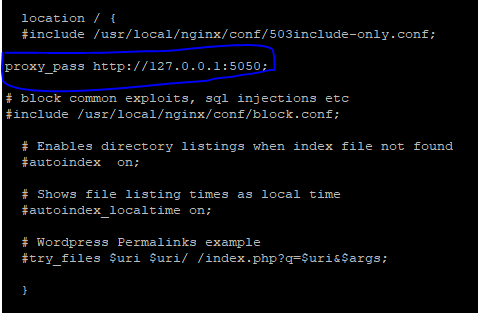
location / {Under it Add
proxy_pass http://localhost:5050;So it will look like as shown in the image below
Also Find
include /usr/local/nginx/conf/staticfiles.conf;Replace With
include /usr/local/nginx/conf/staticfiles-pgadmin4.confSave the file and restart nginx
nprestartNow lets configure PostgreSQL so it can be added as server in pgAdmin
vi /var/lib/pgsql/11/data/pg_hba.confFind
local   all             all                                     peer
# IPv4 local connections:
host    all             all             127.0.0.1/32            ident
Change peer and ident to trust. So it will look like as below
local   all             all                                     trust
# IPv4 local connections:
host    all             all             127.0.0.1/32            trust
Restart PostgreSQL
systemctl restart postgresql-11Now lets change postgres password
su - postgres
psql postgres
\password postgres
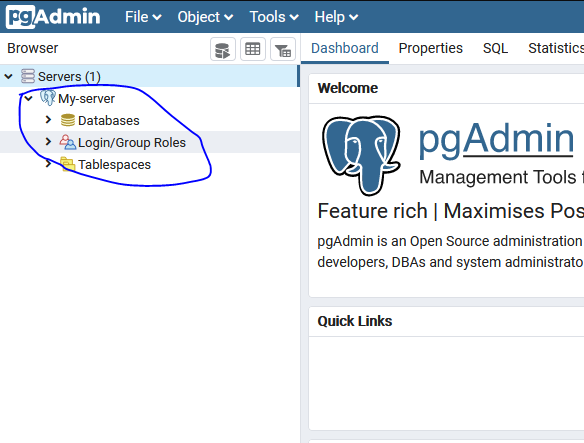
After this is done we will open pgAdmin interface with the domain name you created above and add out PostgreSQL server.

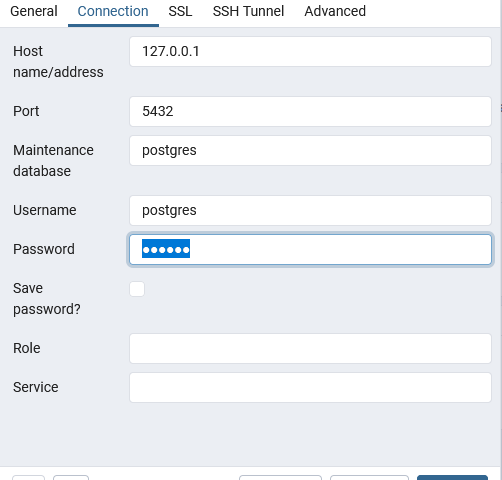
Now enter anything in Name and click on Connection tab after it
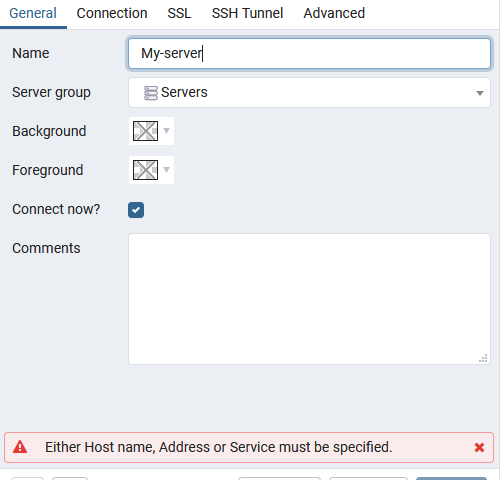
Under hostname/address enter 127.0.0.1. Change username to postgres and password to the password you changed above using command \password postgres. Click on save and you will see your server has been added to it.
